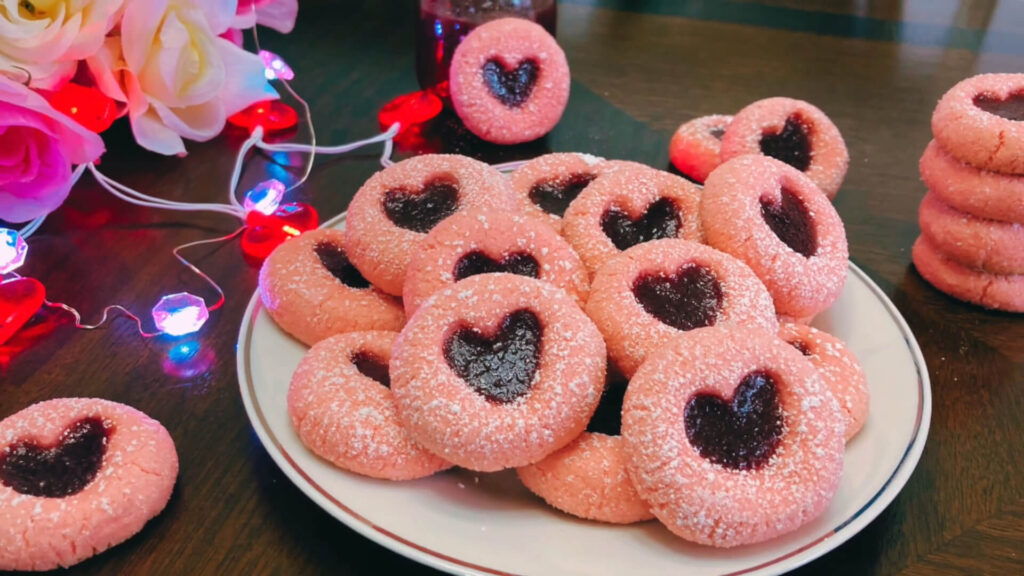
Are you searching for the perfect sweet treat to make your Valentine’s Day extra special? Tired of the usual chocolates or store-bought cookies that lack that personal touch? Look no further than these Heart Thumbprint Cookies – a perfect balance of sweetness, creativity, and heartwarming charm.
Table of Contents
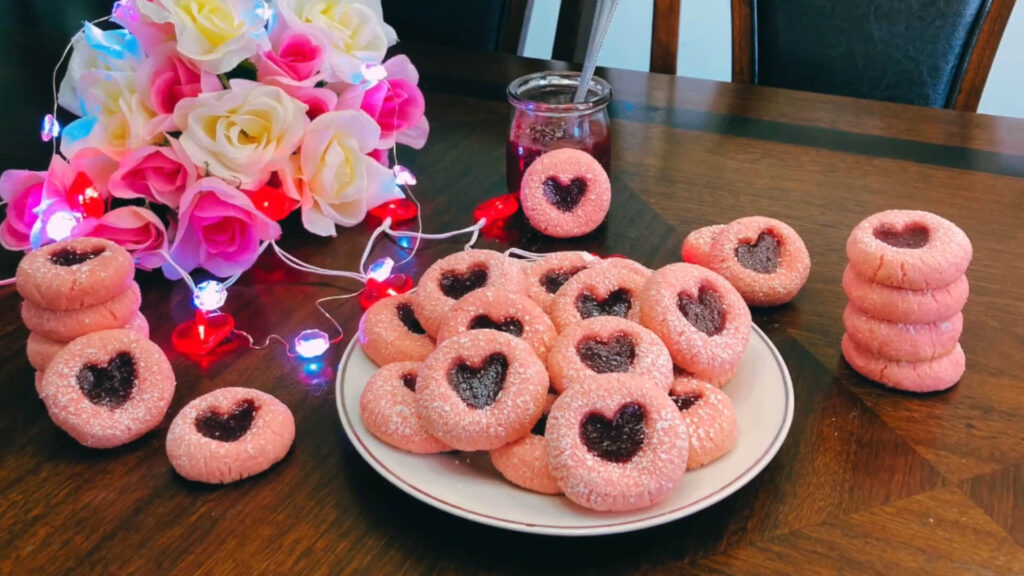
This Valentine’s Day, these cookies will melt your heart and wow your loved ones with their deliciously buttery, melt-in-your-mouth texture and pretty heart-shaped design. Whether you’re baking for a partner, or friends, or just indulging yourself, this recipe is sure to bring joy to everyone.
As a professional baker with over 10 years of experience in crafting the perfect cookie dough, I’ve created this recipe to ensure perfect results every time. I’ll guide you through each step, from choosing ingredients to baking techniques, so you can create Valentine’s cookies that are nothing short of perfection.
In this article, we’ll dive into the ingredients you’ll need, step-by-step instructions, tips for making the perfect thumbprint cookie, and how to decorate them with a personal touch. You’ll even find answers to frequently asked questions, plus troubleshooting tips.
Why This Recipe Works
These Heart Thumbprint Cookies are the perfect balance of flavor, simplicity, and convenience. Here’s why they’re a hit every time:
- Uses affordable, easy-to-find ingredients: No need for fancy or expensive ingredients; you can make these cookies with what’s readily available in most kitchens.
- Quick preparation and baking: These cookies bake in just 15 minutes, ensuring a speedy yet delightful treat for any occasion.
- Perfect for Valentine’s Day or any occasion: Whether it’s a special dinner, a party, or an afternoon snack, these cookies add a personal touch that everyone will love. They’re versatile and customizable!
Choosing the Right Ingredients
To get the perfect batch of Heart Thumbprint Cookies, choosing the best ingredients is key. Let’s break it down:
Best Ingredients for These Cookies
- Butter: The main star of the recipe! Use unsalted butter for better control over the sweetness and saltiness balance.
- Sugar: Granulated sugar adds sweetness and contributes to a crisp edge.
- Egg: Provides structure and moisture.
- Vanilla Extract: For that rich, warm flavor.
- Jam or Jelly: Choose a jam with a vibrant color and flavor, such as raspberry, strawberry, or cherry, to fill your thumbprint.
Buying Tips
- Opt for high-quality, fresh butter for the best texture and flavor.
- When choosing jam or jelly, make sure it’s a seedless variety for a smooth filling. A fruit preserve with a rich flavor profile works best to complement the cookies’ buttery base.
- Vanilla Extract: Pure vanilla extract gives your cookies a deep, aromatic flavor.
Substitutions
- If you don’t have jam, you can use Nutella or chocolate ganache for a decadent twist.
- Gluten-free version: Use a gluten-free flour blend to make the recipe suitable for gluten-sensitive individuals.
Ingredients and Preparation
Now that we’ve covered the basics, here’s a breakdown of how to prepare these cookies:
Ingredients:
| Ingredient | Quantity |
|---|---|
| Unsalted butter | 1 cup (2 sticks) |
| Granulated sugar | 3/4 cup |
| Egg | 1 |
| Vanilla extract | 1 tsp |
| All-purpose flour | 2 cups |
| Salt | 1/2 tsp |
| Jam or jelly | 1/4 cup (per cookie) |
Preparation Steps
- Prep the dough: In a large bowl, cream together the softened butter and sugar until light and fluffy. Add the egg and vanilla extract, mixing well.
- Dry ingredients: In a separate bowl, whisk together the flour and salt. Gradually add the dry ingredients to the wet ingredients, mixing until a soft dough forms.
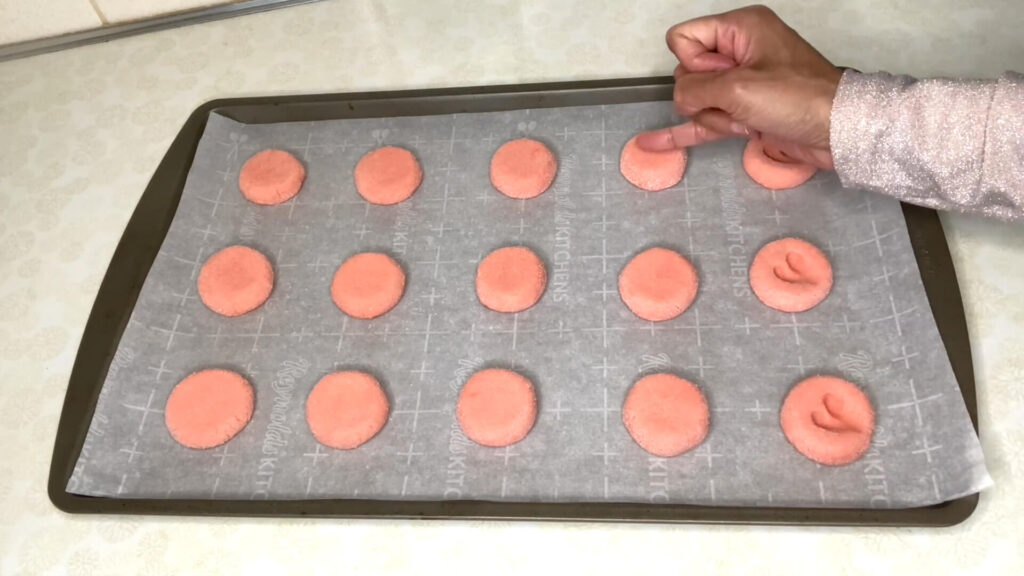
- Forming cookies: Roll the dough into 1-inch balls and place them on a baking sheet lined with parchment paper. Use your thumb to create an indentation in the center of each cookie.
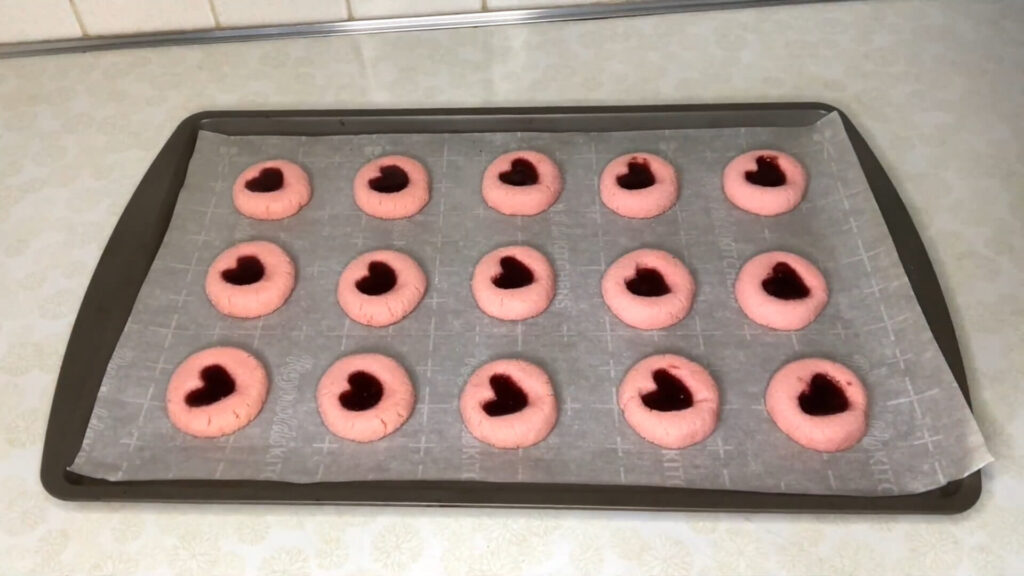
- Adding the jam: Fill each thumbprint with your chosen jam or jelly. Be sure not to overfill, as it can spill over while baking.
- Baking: Bake at 350°F (175°C) for 12-15 minutes, until the edges of the cookies are golden brown.
Don’t Forget These Tips for Perfection!
- Chill the dough: If the dough is too soft, chill it for 15-30 minutes before rolling. This helps the cookies hold their shape during baking.
- Ensure an even thumbprint: Make sure to create a well in the center that’s deep enough to hold the jam but not so deep that the cookie becomes too thin.
- Keep an eye on the bake: These cookies cook quickly, so keep a close watch toward the end to avoid overbaking.
Decorating Your Cookies (Optional)
For a festive Valentine’s touch, consider these simple decorating ideas:
- Sprinkles: Add pink, red, or white sprinkles to the cookies before baking for extra color.
- Drizzle with chocolate: Melt dark chocolate and drizzle it over the cookies for a rich finish.
- Heart-shaped cutters: Once baked and cooled, use a heart-shaped cookie cutter to give the cookies a romantic shape.
Conclusion and FAQ
These Heart Thumbprint Cookies are the perfect Valentine’s Day treat that combines simplicity, flavor, and charm. Whether you’re baking for a special someone or treating yourself, this recipe delivers every time.
Frequently Asked Questions:
- Can I freeze the dough?
Yes! You can freeze the dough for up to 3 months. Just roll into balls, place on a baking sheet, and freeze until firm. Then transfer to a zip-top bag. - Can I use a different filling than jam?
Absolutely! You can fill the thumbprints with Nutella, lemon curd, or even peanut butter for a fun variation.